
Visual Diff
Instructions to use visualDiff
Navigate to Design on left panel.
Click on Test Case.
Create a test case and use keyword visualDiff.
Save the test.
Click on Design on left panel.
Click on Object Container.
Select the desired Screen.
Add Image in the Desktop Image section or Device Image in case of Mobile.
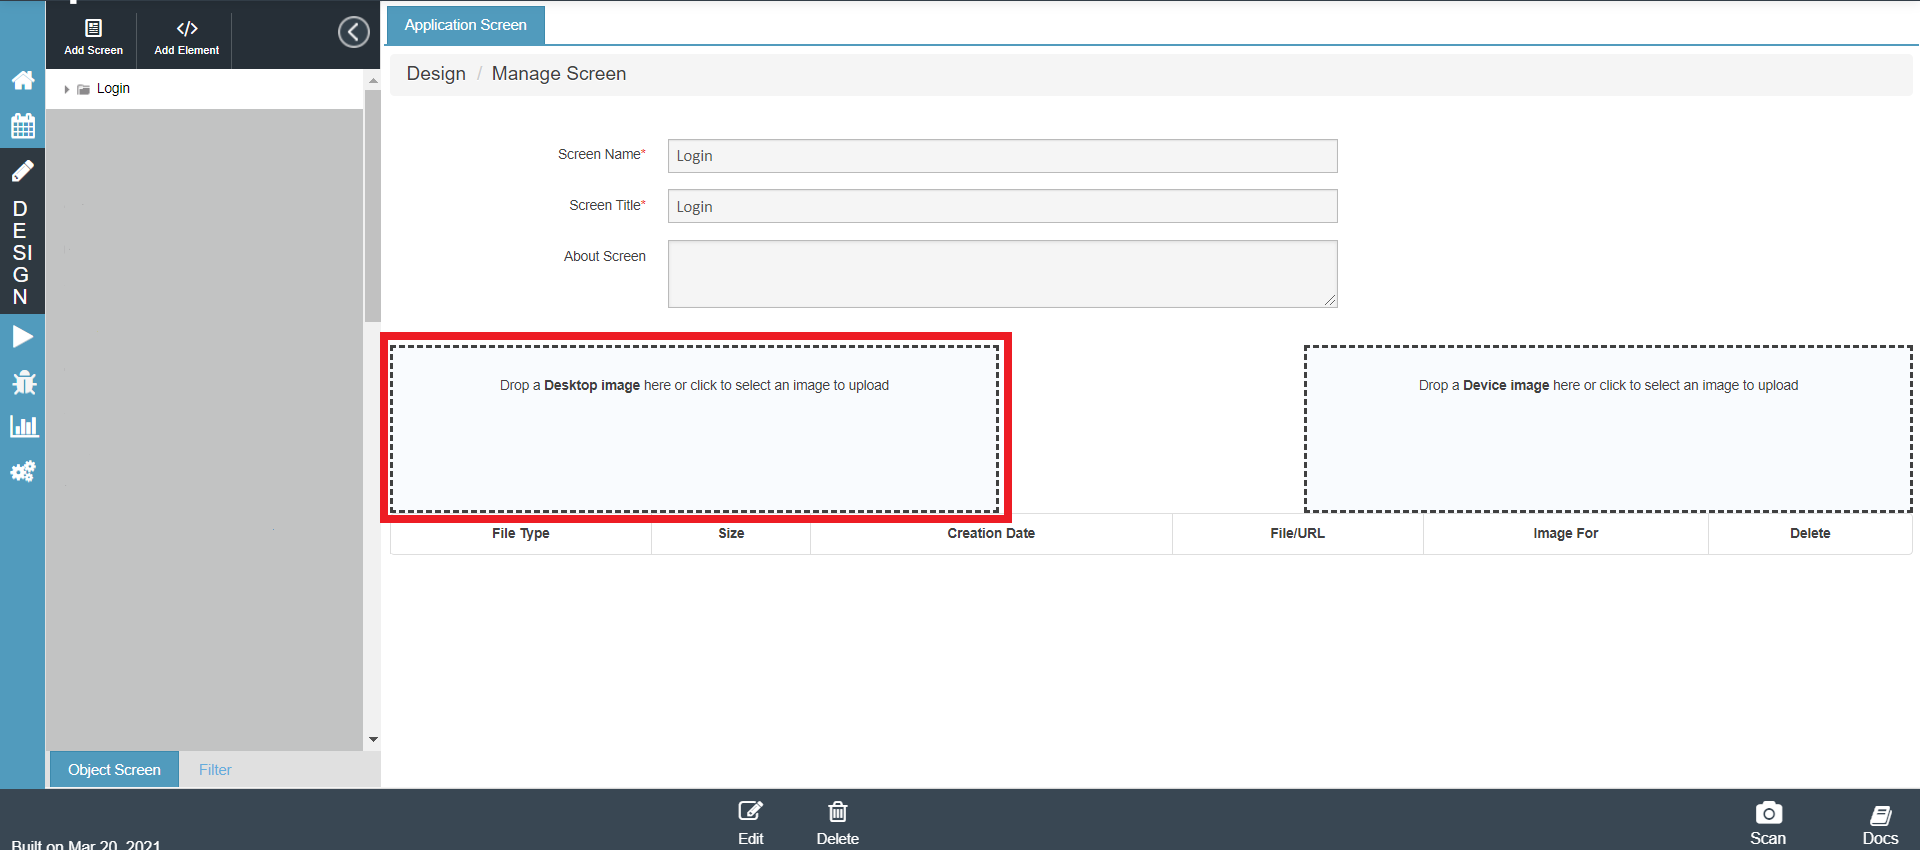
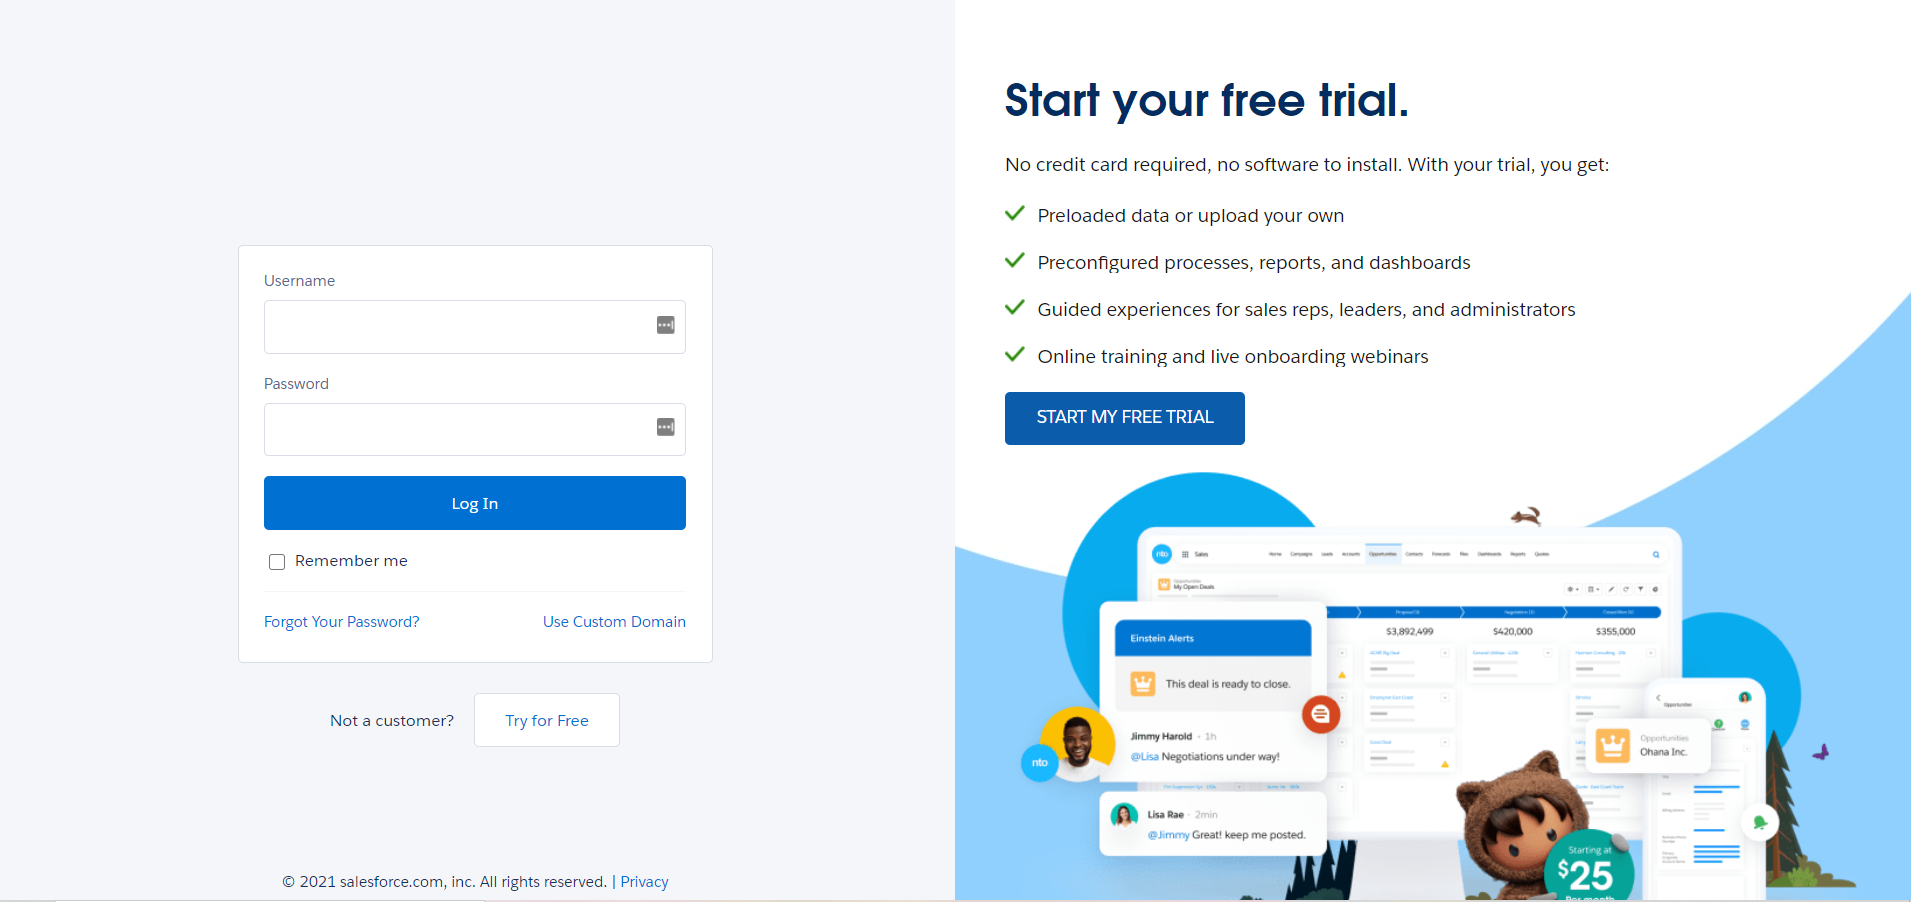
The uploaded image will be displayed as below.
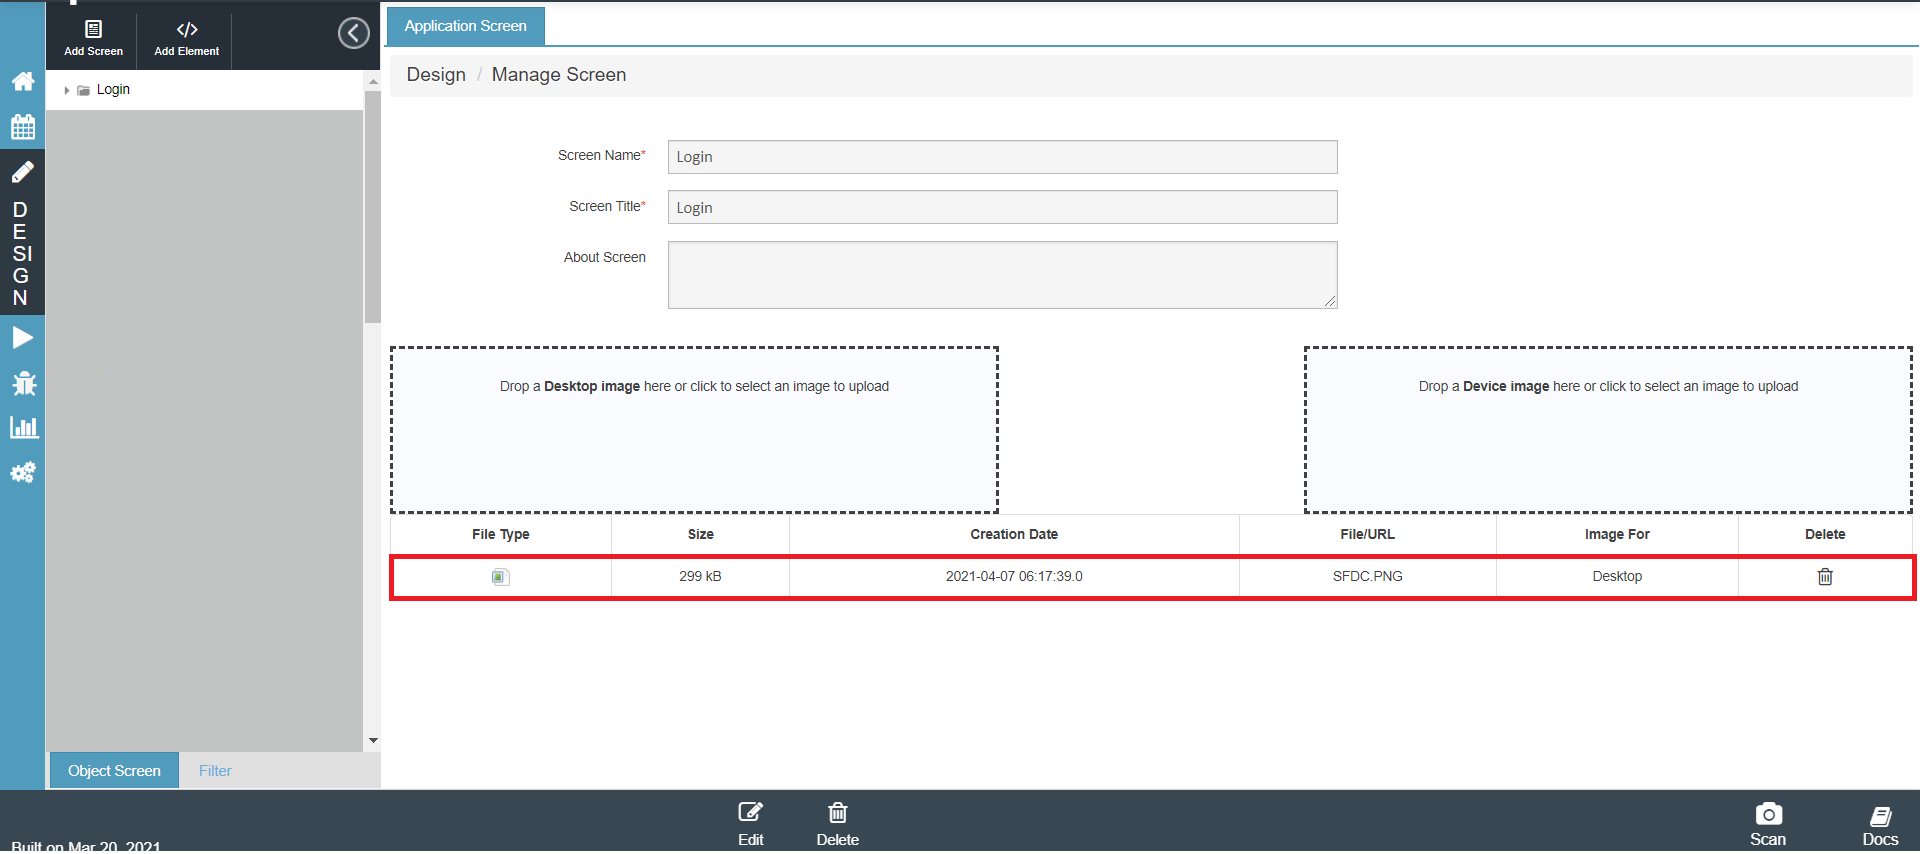
For your reference, below is the attached image.
Add the created test case to suite.
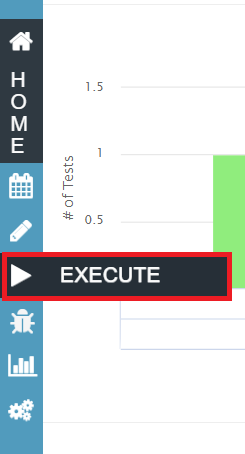
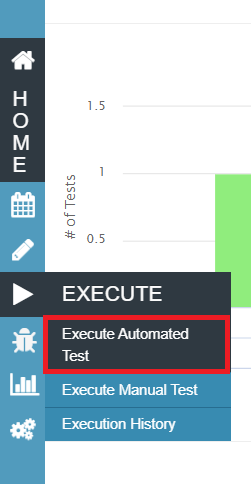
Click on Execute.
Click on Execute Automated Tests.
Select the desired suite and test case.
In the Execution Details section, please enter/select the below details.
- Run Name (Mandatory)
- Executing in Sprint
- Build Number
- Browser instance
- Distributed across Machines
- Execution Tags (if any)
- Execute Tag First
- Email To
Expand the Execution machine(s) section.
For the desired machine, select the browser(s) on which you wish to execute the test case.
Click on Run Selected button.
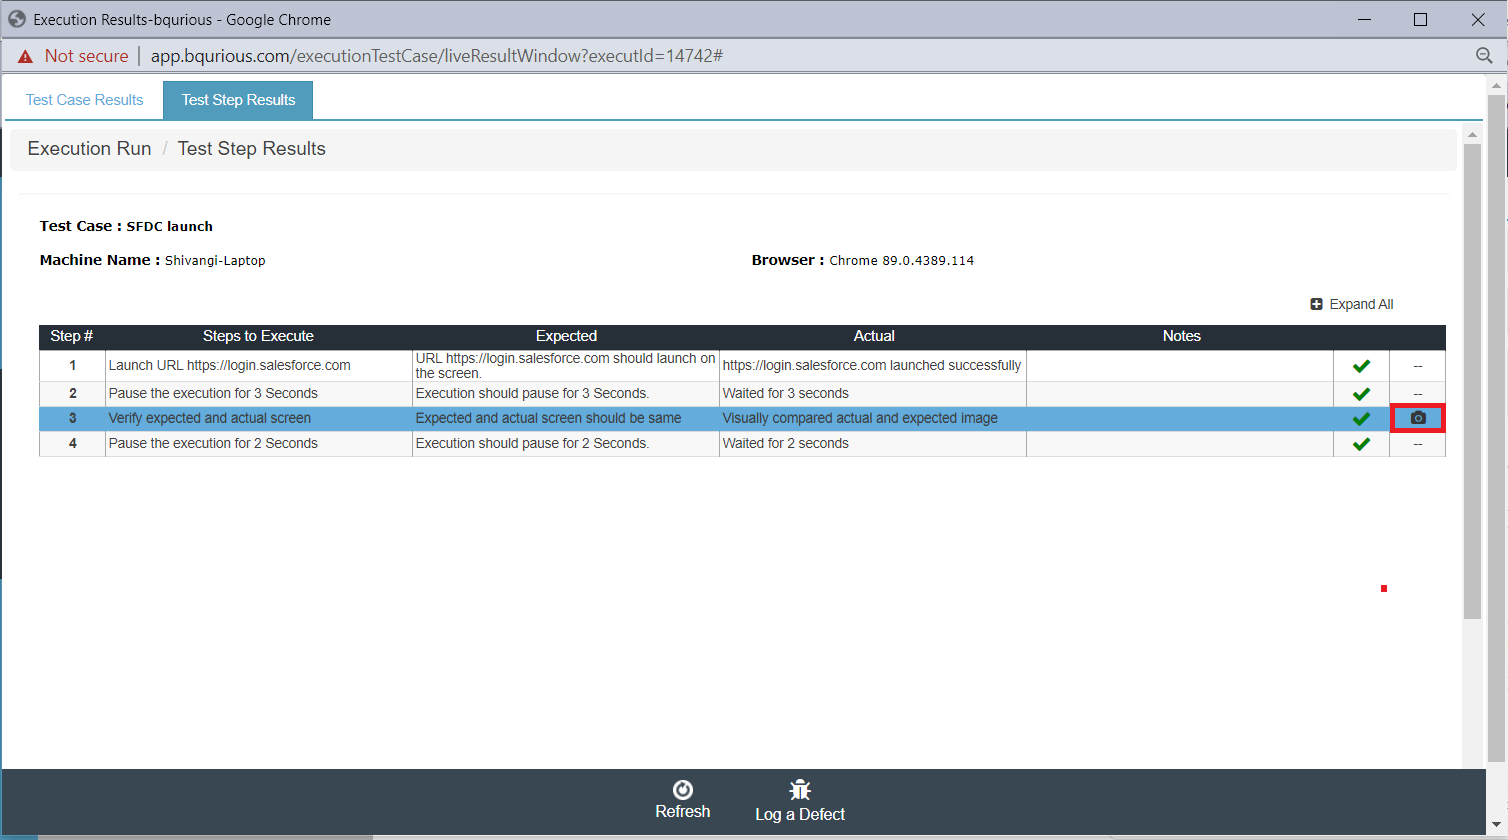
When the execution is complete, click on the test case status to view test steps.
Click on the camera icon besides the visualDiff step.
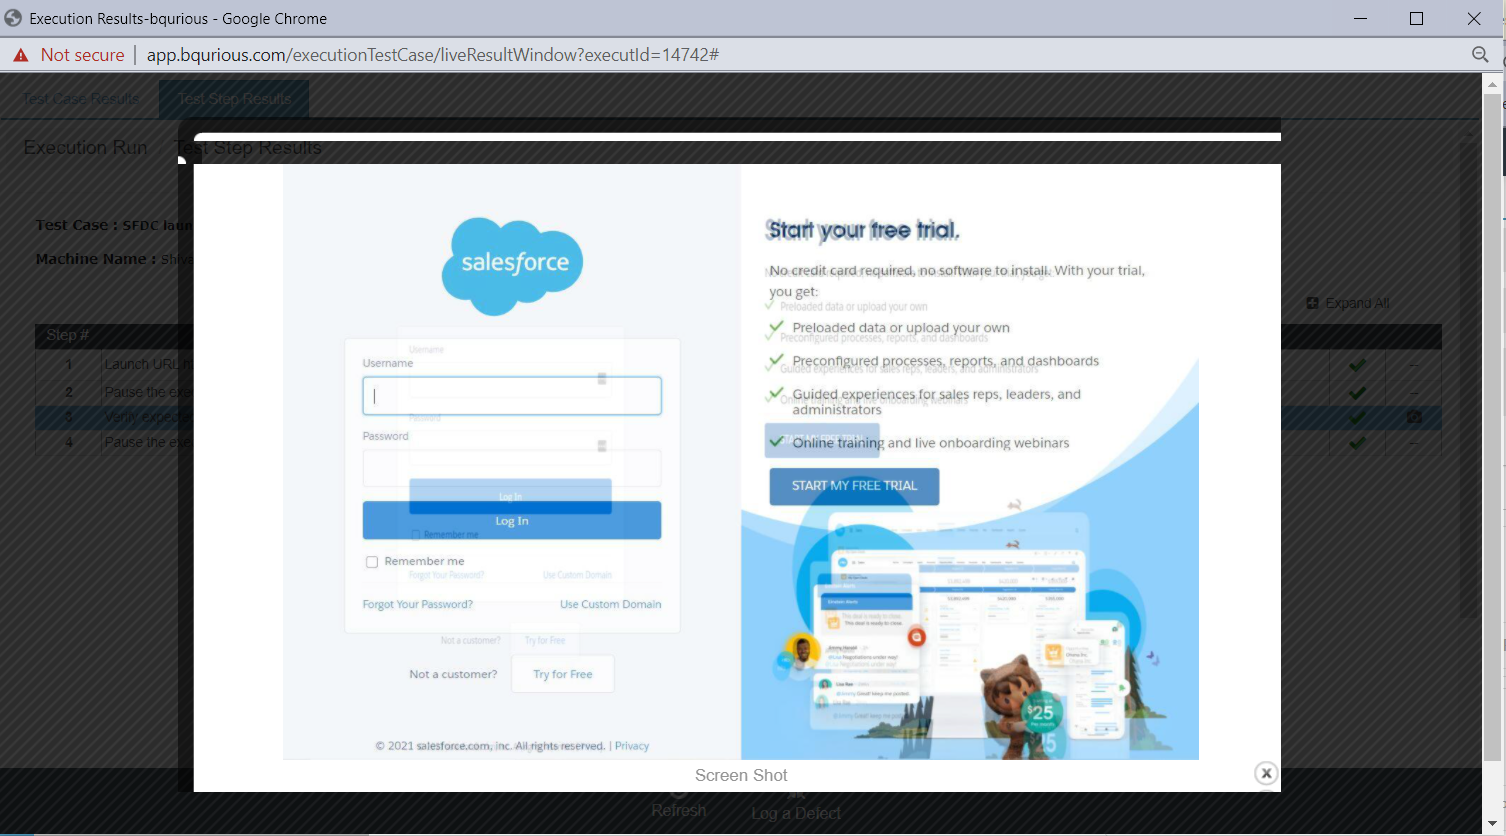
The compared image will be displayed as below.
IMPORTANT
Please note that the image comparison can be viewed only when the test is executed remotely.